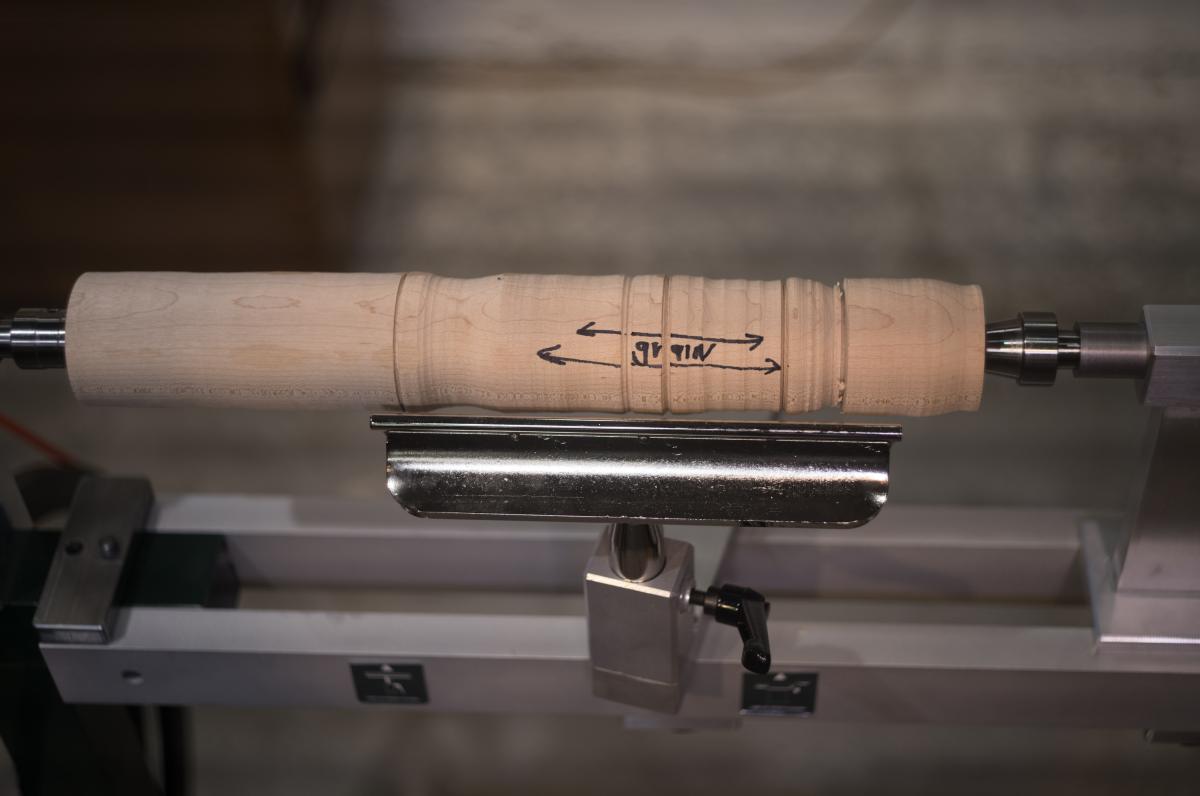
When spindle turning between centers you are always peeling perpendicular to the grain
Do you learn the way I do?
If we're talking about a hands-on skill like turning, I need to understand why a process works. I have a terrible memory for procedure, so unless I understand the procedure steps in context, I won't be able to remember the procedure.
When I begin to learn turning I read a lot and saw a lot of videos. But very little of that information was about the "why." It was mostly about the "how."
This series is about the "why." It won't of itself teach you how to turn, but it may help give some context that can complement other turning instruction.
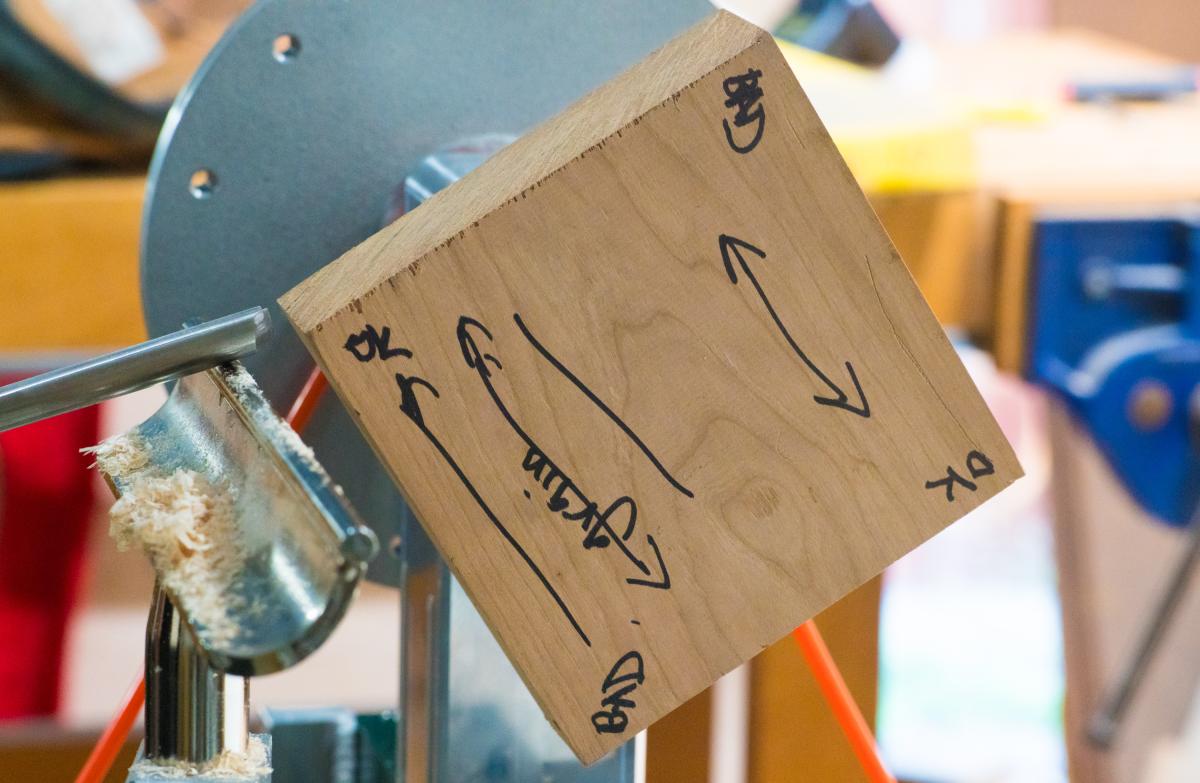
Before we look at the tools, let's look at what we're trying to accomplish. There are two types of turning: the first is spindle turning (above) - think chair legs, candlesticks and banisters. The wood is mounted end-to-end between centers, with the grain running parallel to the spindle of the lathe. When you turn a spindle, you're always cutting across the grain. With bowl turning, the grain is always shifting direction
The second type of turning is bowl turning. In this type of turning, the wood is mounted perpendicular to the spindle. As the wood rotates in the lathe, you may be cutting along the grain, with the grain, or half the time directly into the grain, albeit the wrong way. This presents a lots of problems cutting against the grain.
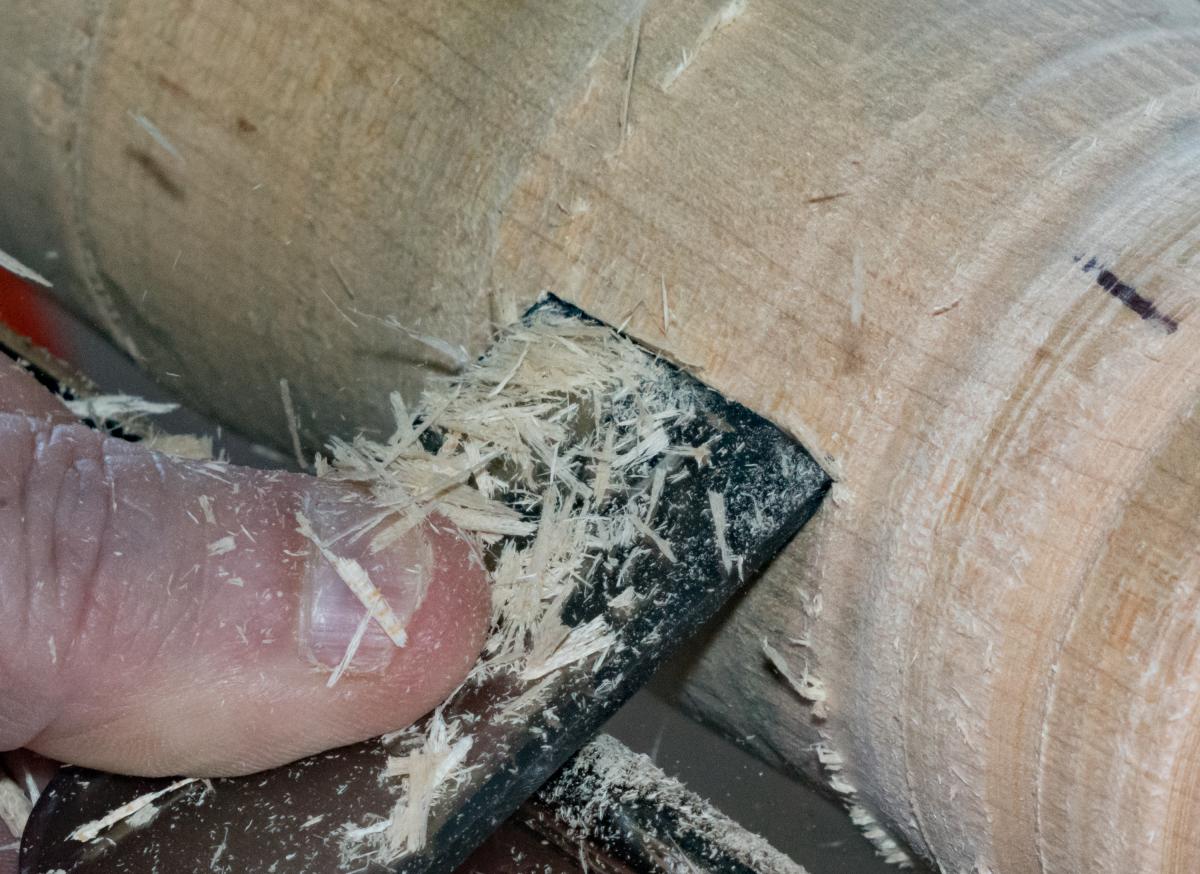
We'll look at bowl turning another time, but for now, let's look at spindle turning in more detail. As I just mentioned, you're cutting across or perpendicular to the grain. Typically when you cut across grain, the wood simply peels away. Different species offer different experiences. If you have a very stringy wood, it will peel away leaving a rough surface. On a fine and dense wood, you'll get a fine surface. There's no real danger of tear-out, except on corners of the cut (where the wood will splinter out if the corners of the cutting tool are buried in the wood).
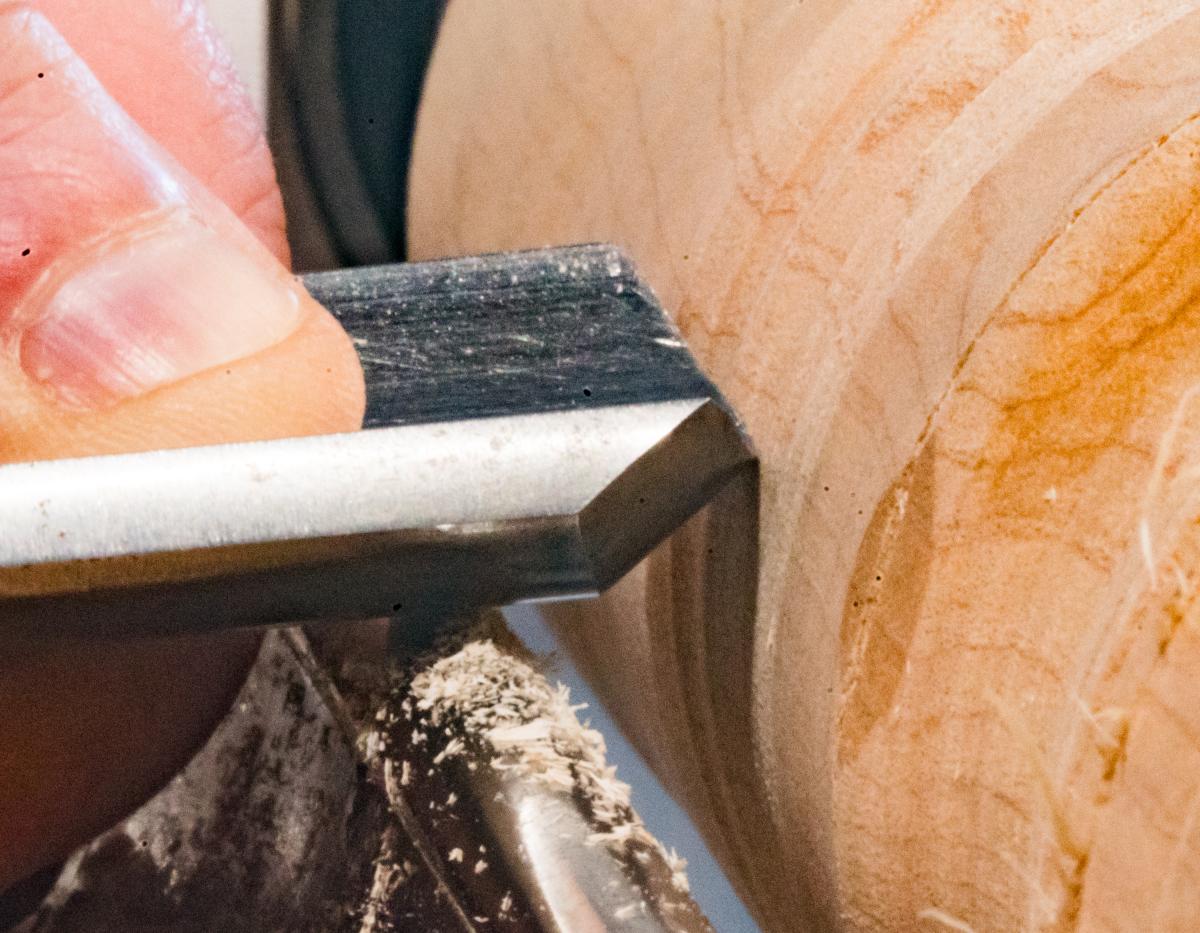
With a straight chisel, the wood just splinters out at the corners of the chisel
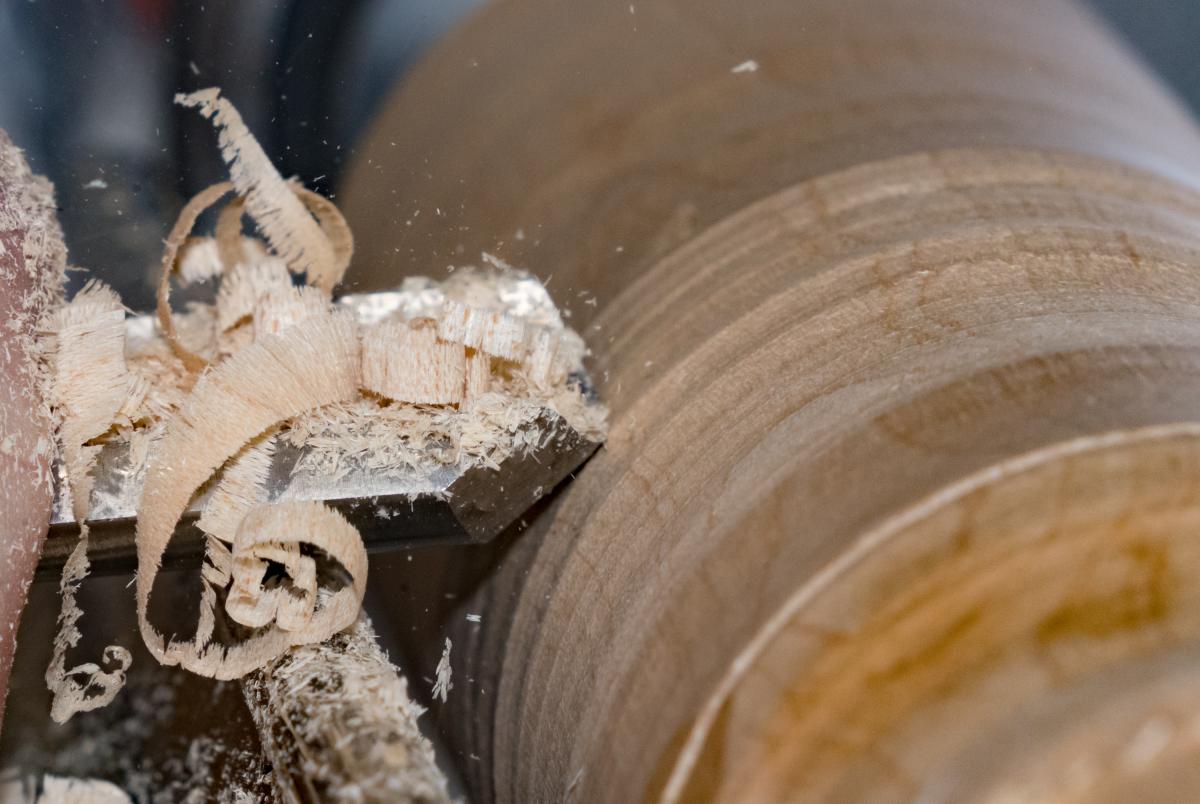
The very simple solution to splintering out at the corners of a straight tool is instead of a straight tool is to use a gouge that cuts and peels the wood away in the middle - and then gracefully exits and shears the fibers at the corners of the tool without splintering. This is essentially how all spindle turning tools work. The center of the gouge peels away material, and the curved sides exit cleanly.
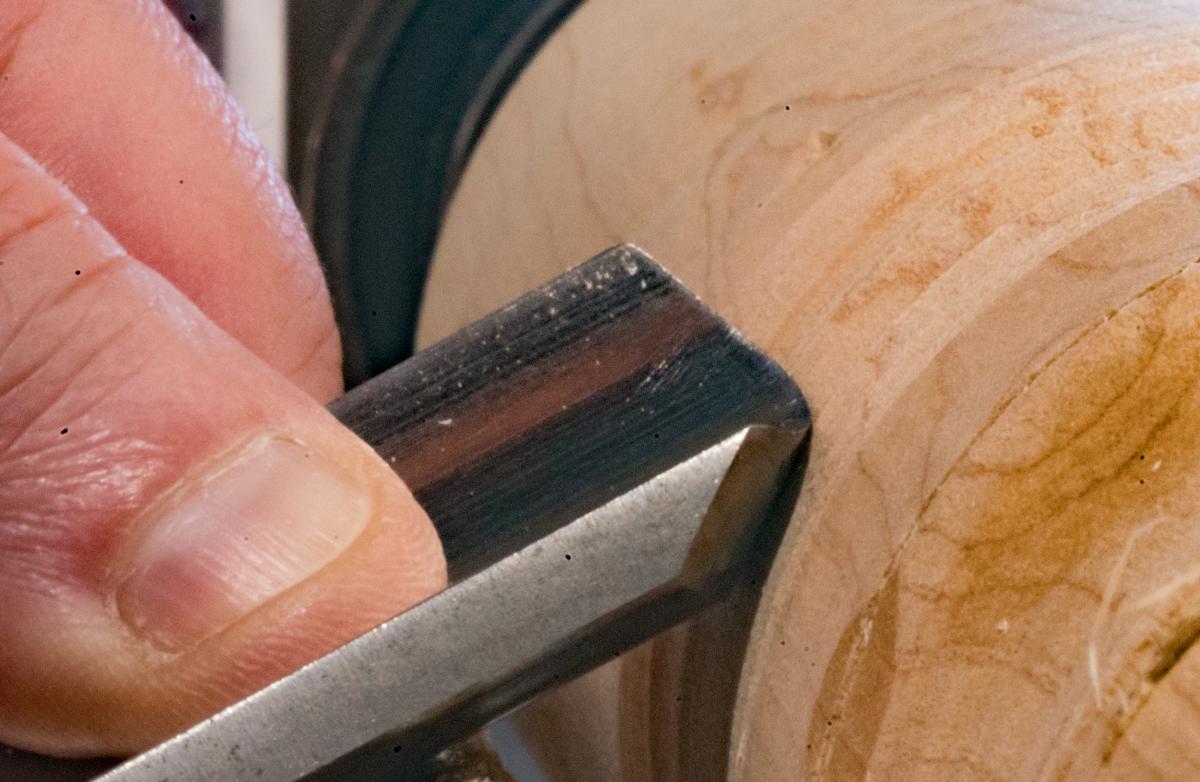
A continental gouge, which has a gentle curve to it, can cut cleanly, provided you don't have too heavy a cut, which can engage the corners of the tool. A roughing gouge, with its high sides and U-shaped profile, can take very deep cuts and still cut cleanly. A thumbnail spindle gouge, has a nose (finger) sticking out in the center of the tool so it can cut deeper, but the tool still has the raised sides of a gouge so it can do some shearing at the sides and leave with a clean transition at the edges of the cut.
Skew chisels, and scraping tools, both of which are flat and don't have a curved gouge geometry for a clean cutting on the sides are used differently than gouges and I will look at them analytically another time.
Nice clean shavings
The next issue is how to hold the tool against the material. The turning tool is always braced on the tool rest and kept steady by one hand holding on at the end of the handle. But that's not enough to rigidity to keep the tool moving even a fraction of an inch up and down as it can pivot on the rest. So the tool won't cut evenly or consistently.
Holding the tool with no support leads to chatter and uneven cutting
The tool is unsupported as in the photo above, it will cut, but even holding the tool as steady as you can, there will be enough movement at the cutting edge so that you will not get a steady, even cut. The cutting edge will bounce up and down, going in the work too deeply, or bounding out entirely. The tool is essentially a see saw.
Riding the bevel on the work - a nice clean, smooth surface
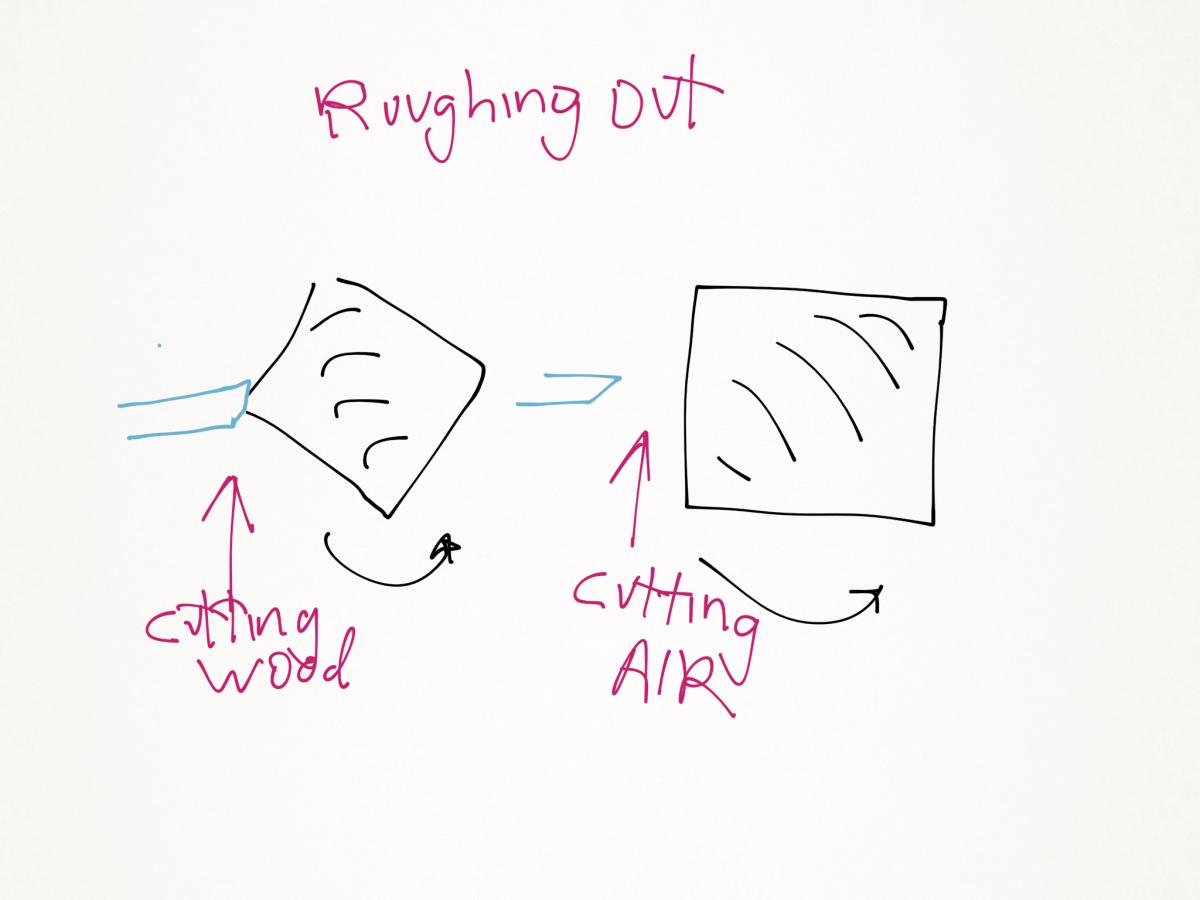
The key to smooth, even, shiny surfaces is riding the bevel of the turning tool on the spinning work. In the image above we have two places for support: the tool rest; and the work itself. You can easily hold a steady position because the tool cannot lift out of the cut and you are holding the tool hand up against resistance and the tool cannot dig deeper into the cut because the bevel is rubbing against the work as it turns. You get continuous, long shavings, a smooth surface, and controlled cutting - because the tool is prevented from bouncing in and out of the cut. The position of the tool rest, how far above or below the work centerline it is and how far away the tool rest is from the work is determined to make it is easy for you to position the tool so it naturally allows the tool bevel to rub against the work as the work is turned smaller. Riding the bevel is generally how all turning is done. There are exceptions. The most notable being when you are taking a new piece of stock and turning it from square to round. No matter how much you might want to ride the bevel, between cutting the corners of the stock round, there is no support so steady hand holding may be the best you can do. When roughing from square, the tool is unsupported as it rounds the stock
Once I understood these basic principles I could easily focus on easy turning. I don't think for example of my tool rest is high or low, but how well the tool is cutting. If I am getting a ragged cut, or have trouble with control I know to look to see if the tool bevel is supported by the work, or am bouncing free. And the fix becomes obvious.
Join the conversation
10/21/2026 erich zarnfaller
Great review for starting turning. I have been away from turning for a while, reading a bit, but this is concise to get back into spindles.





 Joel's Blog
 Built-It Blog
 Video Roundup
 Classes & Events
 Work Magazine